
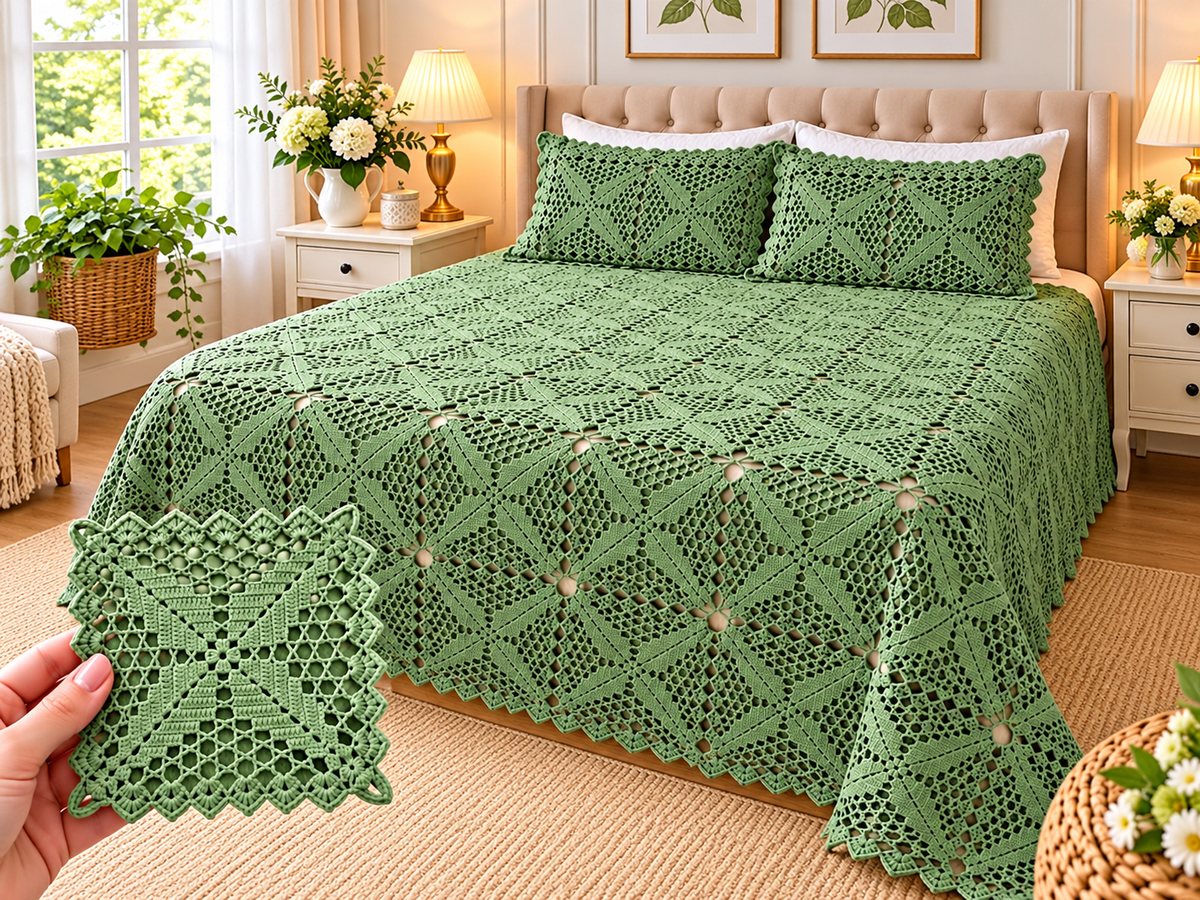
Sage green, sunlight and lace. This bedspread is the kind of project that makes people stop and look. Every square is a lace star with diamond mesh, and when the squares meet they make big new diamonds across the bed. The pointed border finishes it like an heirloom.
It looks hard, but it is not. One square is only 14 rounds of chains, double crochets and trebles. Make one square this weekend and you will know if you love it. Read on: the star center and the joining trick are explained step by step below.
What you need
- Yarn: size 5 or 8 perle cotton or fine mercerized cotton in sage green. About 1,500 g for a full cover and 2 pillow covers.
- Hook: 3 mm (D-3). Use a 2.75 mm if your lace looks loose.
- Tools: tapestry needle, scissors, stitch markers, blocking mats and rustproof pins.
- Tip: make one finished square first, weigh it, multiply by 20 and add 15% for the border and pillows.
Abbreviations and size
- ch chain
- sl st slip stitch
- sc single crochet
- dc double crochet
- tr treble crochet
- sp space
- st(s) stitch(es)
- picot ch 3, sl st into the 1st ch
Square size: about 30 cm (12 in) after blocking.
Squares needed: 6 across and 7 down = 42 squares for 180 x 210 cm. Make 20 for a lap throw.
How to crochet the lace star square
Work every round with the right side facing you. Join each round to the top of the first ch with a sl st. Ch 3 at the start of a round counts as 1 dc, and ch 5 counts as 1 dc + ch 2.
- Round 1: Make a magic ring. Ch 3, 15 dc in the ring. Join. [16 dc]
- Round 2: Ch 5, *dc in the next dc, ch 2. Repeat from * around. Join to the 3rd ch of the starting ch-5. [16 sp]
- Round 3: Sl st into the first sp. Ch 3, 2 dc in the same sp and in each sp around. Join. [48 dc]
- Round 4 (set the 4 corners): Ch 5, skip 2 sts, dc in the next dc. *Ch 2, skip 2, dc in the next. Repeat 2 more times, then (dc, ch 3, dc) in the next dc for a corner. Repeat around 4 times. [4 corners]
- Round 5 (star arms): Dc in each dc and 3 dc in each ch-2 space on the sides. At the corners, work (2 dc, ch 3, 2 dc) in the ch-3 space. Join. This makes the solid star arms.
- Rounds 6–8 (grow the star): Repeat Round 5 but work 1 dc in each dc on the star arms, and ch 2 / skip 2 on the outside to make diamond mesh around the arms. Each round adds 2 dc to the arm and 1 mesh space to each side.
- Rounds 9–11 (diamonds): Work diamond mesh: *ch 3, sc in the next ch-2 space, ch 3, dc in the next dc. Repeat from * to each corner, then (dc, ch 3, dc) in the corner. Join.
- Rounds 12–13 (frame): Work 2 rounds of dc in every st and 3 dc in every ch-3 corner, to make a firm frame for joining.
- Round 14 (points): Sc around, working (sc, ch 3, sc) in each corner. This gives the little points you can see on the sample square. Fasten off.
Rule to remember: the star arms get 2 more dc every round, and the mesh gets 1 more space on each side. If the arms lean, you missed a stitch on a corner. Fix it before the next round.
Block and lay out the squares
Pin each square flat to 30 cm, steam lightly and let it dry. Lace needs blocking more than any other pattern: it opens the holes and makes the star clear. Lay out the squares in 6 columns by 7 rows. Place the squares so that all the stars point the same way. Take a photo before you join.
Join the squares
- Hold 2 squares with right sides together. Whipstitch through the back loops only with the same yarn.
- Join squares into 7 strips of 6, then join the strips.
- At every point where 4 squares meet, make one stitch through all 4 corners. These meeting points make the open diamonds you see on the bed.
- Keep the seam loose. Tight seams make lace stiff.
Pointed scallop border
- Round 1: Join sage at any corner. Ch 1, sc evenly around, 3 sc in each outer corner. Join.
- Round 2: Ch 3, dc in each st, working 5 dc in each corner. Join.
- Round 3 (points): *Skip 2 sts, (3 dc, ch 2, 3 dc) in the next st, skip 2 sts, sc in the next st. Repeat from * around.
- Round 4: Sc around, working 3 sc in each ch-2 point. Fasten off and weave in the ends.
Matching pillow covers (make 2)
- Make 2 x 3 squares joined side by side for each pillow front (about 30 x 60 cm).
- Work Rounds 1 and 2 of the border around the edge, then the points.
- Make a plain dc back panel and sew it on 3 sides. Insert the pillow, then sew the last side.
Tips for success
- Check your gauge. Make one square first. If it is bigger than 30 cm, use a smaller hook.
- Count each round. Lace shows mistakes more than solid work.
- Use the same dye lot. Buy all your sage yarn at one time.
- Make 3 squares a week. 42 squares is about 3 months of easy evenings.
- Weave ends as you go. 42 squares of ends is a big job at the end.
Common mistakes to avoid
- Skipping blocking. The star will look flat and the points will curl.
- Using a thick yarn. The lace needs a fine, smooth thread.
- Joining with tight stitches. The bedspread will be stiff.
- Turning the squares in different directions by mistake.
- Forgetting the corner stitches in Round 14.
Ways to change this pattern
- Cream or white: for a classic wedding bedspread.
- Table topper: join 4 squares for a doily.
- Baby blanket: make 12 squares in soft sage cotton.
- Two colors: make the star in sage and the frame in cream.
- Bigger squares: add Rounds 15 and 16 to make a 36 cm square.
Frequently asked questions
What skill level do I need?
If you can make a double crochet, treble and a magic ring, you can do it. The rounds repeat, so after 2 squares you will not need the pattern.
How long does it take?
A square takes about 3 to 4 hours. A full bedspread takes most crocheters 8 to 10 weeks.
What is the best yarn?
Fine mercerized cotton or size 5 perle cotton. It is smooth, clear and easy to wash.
Can I make it smaller or bigger?
Yes. Use 20 squares for a lap throw, 42 for a full cover and 56 for a king. Measure your bed first.
How do I wash it?
Machine wash on a gentle cycle in cold water, or hand wash. Dry it flat. Do not hang it, because the weight will stretch the open stitches.
Can I sell things I make from this pattern?
Yes, you can sell finished items. Please credit this website as the designer and do not copy or share the written pattern.
Don’t stop here — more free patterns
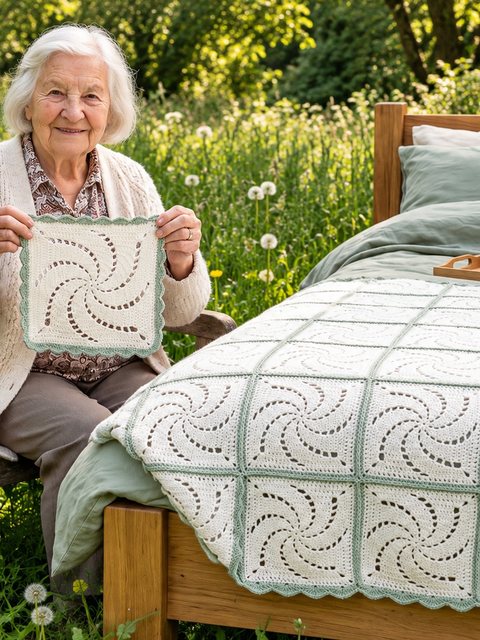 Crochet Pinwheel Lace Bedspread — Free Crochet Pattern
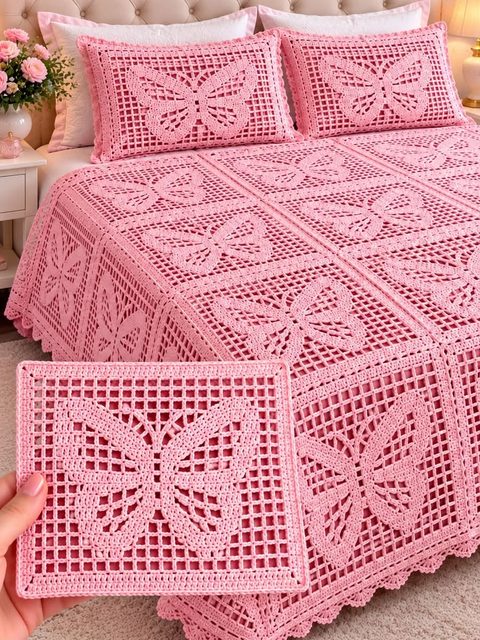 Crochet Pink Butterfly Bedspread — Free Crochet Pattern