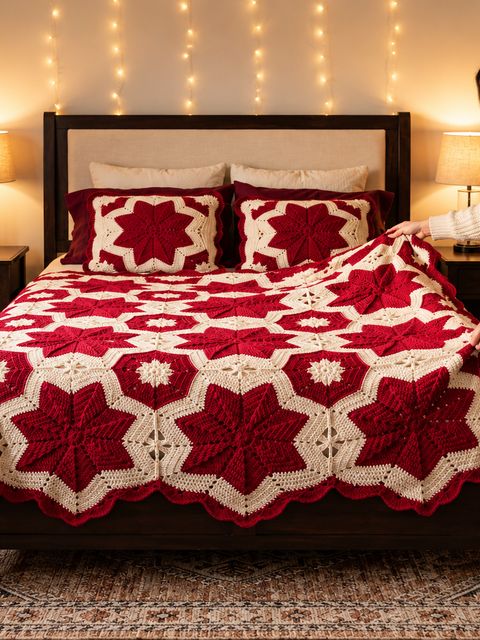
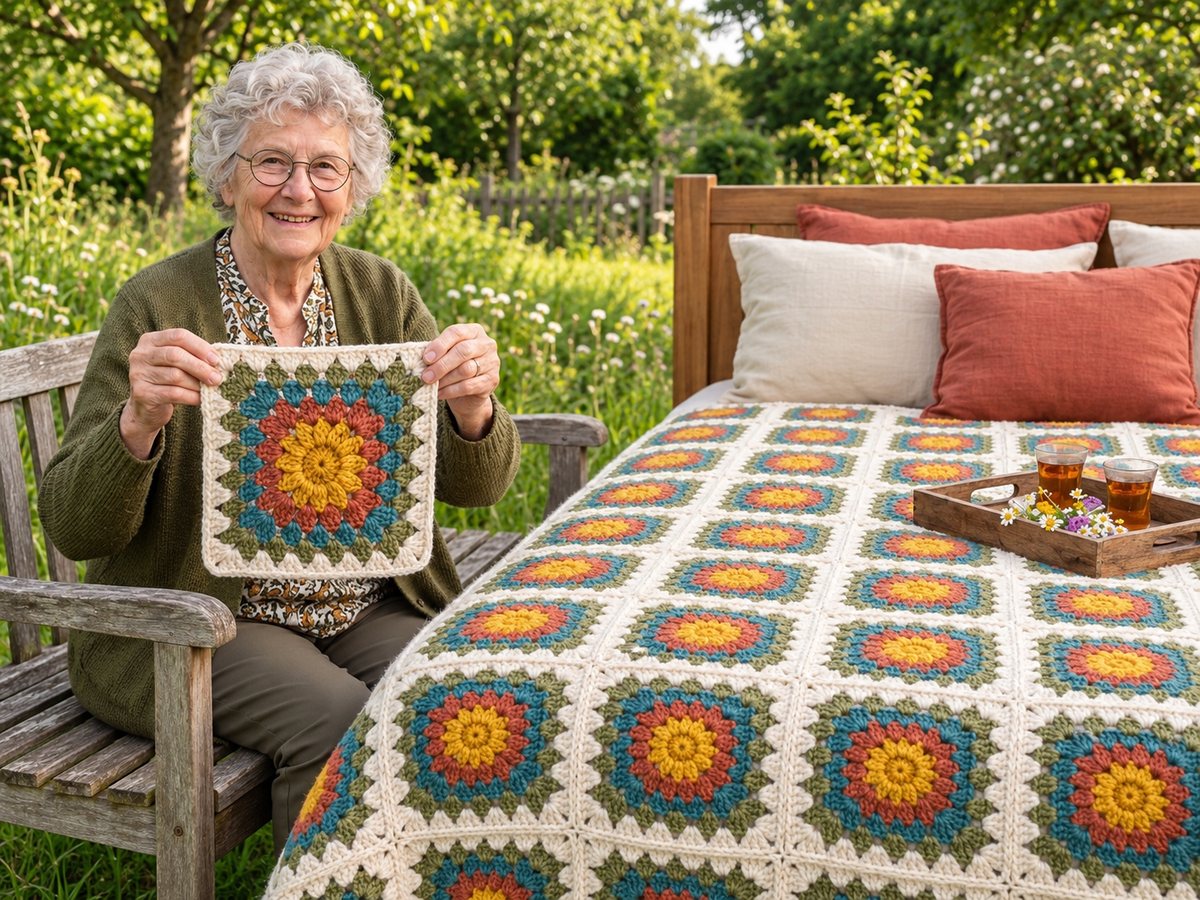
This sunflower granny square bedspread feels like a sunny day in the garden. Every square has a mustard center, ringed with terracotta, teal and olive, and a creamy border. Joined together, the squares make a warm, colorful bedspread that looks great on any bed.
It is a perfect project if you want to learn granny squares or make something to give away. You only need basic stitches: chain, slip stitch, single crochet, half double crochet and double crochet. Make one practice square first, then repeat it.
What you need
- Yarn: worsted weight (medium 4) cotton or cotton blend in 5 colors: mustard yellow, terracotta, teal, olive green and cream (main color, joining and border).
- Hook: 4 mm (G-6). Go up or down a size if your square is too tight or too floppy.
- Tools: tapestry needle, scissors, stitch markers, blocking mats and pins.
- How much yarn? Estimate for a queen bedspread with two cushion fronts (88 squares): about 1,500 m (1,640 yd) cream, 800 m (875 yd) olive, 650 m (710 yd) teal, 500 m (550 yd) terracotta and 350 m (380 yd) mustard. For a better number, make one finished square, weigh each color, multiply by the number of squares, then add 15%.
Abbreviations and size
- ch chain
- sl st slip stitch
- sc single crochet
- sc2tog 2 sc worked together
- hdc half double crochet
- dc double crochet
- dc2tog 2 dc worked together
- sp space
- st(s) stitch(es)
- magic ring adjustable starting loop
Square size: about 20 cm (8 in) across after blocking.
Squares needed: 80 for the bedspread (8 across and 10 down, about 160 x 200 cm) plus 8 for two cushion fronts, so 88 in total. Make 24 (4 across and 6 down) for a lap throw.
How to crochet the sunflower granny square
Work every round with the right side facing you. The chain-3 at the start of a round counts as 1 dc. Join each round with a sl st to the top of the first chain-3 unless the round says otherwise. Change color at the end of each round: fasten off, then join the new color in any stitch.
- Round 1 (mustard): Make a magic ring. Ch 1, 12 sc in the ring. Join with a sl st to the first sc. [12 sc]
- Round 2 (mustard): Ch 3, dc in the same st. 2 dc in each st around. Join. [24 dc]
- Round 3 (terracotta): Ch 3, dc in the same st. *Dc in the next st, 2 dc in the next st. Repeat from * around, ending with dc in the last st. Join. [36 dc]
- Round 4 (teal): Ch 3, dc in the next st, 2 dc in the next st. *Dc in each of the next 2 sts, 2 dc in the next st. Repeat from * around, ending with dc in the last st. Join. [48 dc]
- Round 5 (olive): Ch 3, dc in each of the next 2 sts, 2 dc in the next st. *Dc in each of the next 3 sts, 2 dc in the next st. Repeat from * around, ending with dc in the last st. Join. [60 dc]
- Round 6 (cream, corners): Ch 3, dc in each of the next 6 sts, (2 dc, ch 2, 2 dc) in the next st. *Dc in each of the next 14 sts, (2 dc, ch 2, 2 dc) in the next st. Repeat from * 2 more times, dc in each of the last 7 sts. Join. [72 dc, 4 corner spaces]
- Round 7 (cream): Ch 3, dc in each dc to the corner space, (2 dc, ch 2, 2 dc) in the corner space. Repeat in each corner and join. [80 dc]
- Round 8 (cream, edge): Ch 1, sc in each dc around, with 3 sc in each corner space. Join, fasten off and weave in the ends. [92 sc, 23 per side]
Rule to remember: the color rounds make the sunflower, so keep the same number of stitches as shown at the end of each round. If a round is wrong, the square will ruffle or curl.
Block and lay out the squares
Pin each square flat to your blocking mat, steam it lightly and let it dry. Blocking makes every square the same size and square. Lay them out in 10 rows of 8, and spread the colors evenly. Take a photo of your layout so you can always find your place again.
Join the squares
- Hold two squares with right sides together. With cream, whipstitch along one side through the back loops only.
- Join the squares into 10 long rows of 8 first, then join the rows to each other.
- Where four corners meet, make one small stitch through all four.
- Keep your joining stitches loose. Tight seams make the bedspread stiff.
Border
- Round 1: Join cream at any corner. Ch 1, sc evenly around, with 3 sc in each outer corner. Join.
- Round 2: Ch 2 (does not count as a st), hdc in each st around, with 3 hdc in each corner st. Join.
- Round 3: Ch 1, sc in each st around, with 3 sc in each corner st. Join and fasten off. Weave in the ends.
Matching cushion covers (make 2)
- Make 4 squares for each cushion front and join them 2 x 2. The panel is about 40 x 40 cm.
- Work 1 round of sc around the outer edge with cream.
- Make the back from terracotta cotton fabric. Place front and back wrong sides together, sew around three sides, insert a 40 x 40 cm (16 in) pillow form and close the last side.
Tips for success
- Check your gauge. Make one square before you start. It should be about 20 cm across after blocking.
- Keep your tension even. Cotton does not stretch, so loose and tight stitches show.
- Count every round. The number in the brackets at the end of each round is your check.
- Use one dye lot of cream and buy extra. It is used for the border of every square, the joining and the edge.
- Work in small steps. Make 2 squares a day and all 88 squares are done in about 6 weeks.
- Weave ends as you go. Each square has 5 colors, so there are 10 ends. Do them while you watch TV.
Common mistakes to avoid
- Skipping the corner rounds. The square stays round and will not lie flat.
- Pulling tight at the color changes. Keep these joins loose.
- Forgetting to block. Unblocked squares curl and join unevenly.
- Using a very fuzzy yarn. It hides the color rounds.
- Putting the same colors next to each other in the layout.
Ways to change this pattern
- Soft version: dusty rose, sage and cream.
- Dark version: use charcoal instead of cream for the border.
- Lap throw: join 24 squares in 6 rows of 4. It measures about 80 x 120 cm.
- Baby blanket: join 20 squares in 5 rows of 4, about 80 x 100 cm.
Frequently asked questions
What skill level do I need?
Easy. If you can make a magic ring, a single crochet and a double crochet, you can do it. Make one practice square first.
How long does it take?
Each square takes about 35 minutes. All 88 squares need about 52 hours, plus about 14 hours for joining and the border. At 10 hours a week, plan on 6 to 8 weeks.
What is the best yarn?
Cotton or a cotton blend gives crisp stitches and shows the colors well. Choose a smooth yarn, not a fuzzy one.
How do I wash it?
Hand wash or use a gentle cycle in cool water, then dry flat. Cotton can shrink a little, so avoid hot water.
Can I make it smaller or bigger?
Yes. Use 24 squares for a lap throw and 80 for a queen bedspread. To size it for your bed, divide the bed measurements by 20 cm.
Can I sell things I make from this pattern?
Yes, you can sell finished items. Please credit this website as the designer and do not copy or share the written pattern.